Benefits of Managed Databases

I will begin by talking about the challenges of managing a database on your own. Then I will talk about architecture decisions on when to switch to a managed database offering. I think it's important to highlight the challenges of managing a database on your own. When I talk about managing a database on your own, I'm talking about going through the entire process of deploying a virtual server, installing the database server client and its dependencies, configuring the hosts for it, all of the database settings, setting the database to start on boot, essentially going through the entire process of deploying a database. Now when managing databases on your own, there are certain things to consider, first, backups. You must make sure that you have proper backups in place whether that means writing a custom script that takes daily backups or leveraging external tools that take care of the backups for you.
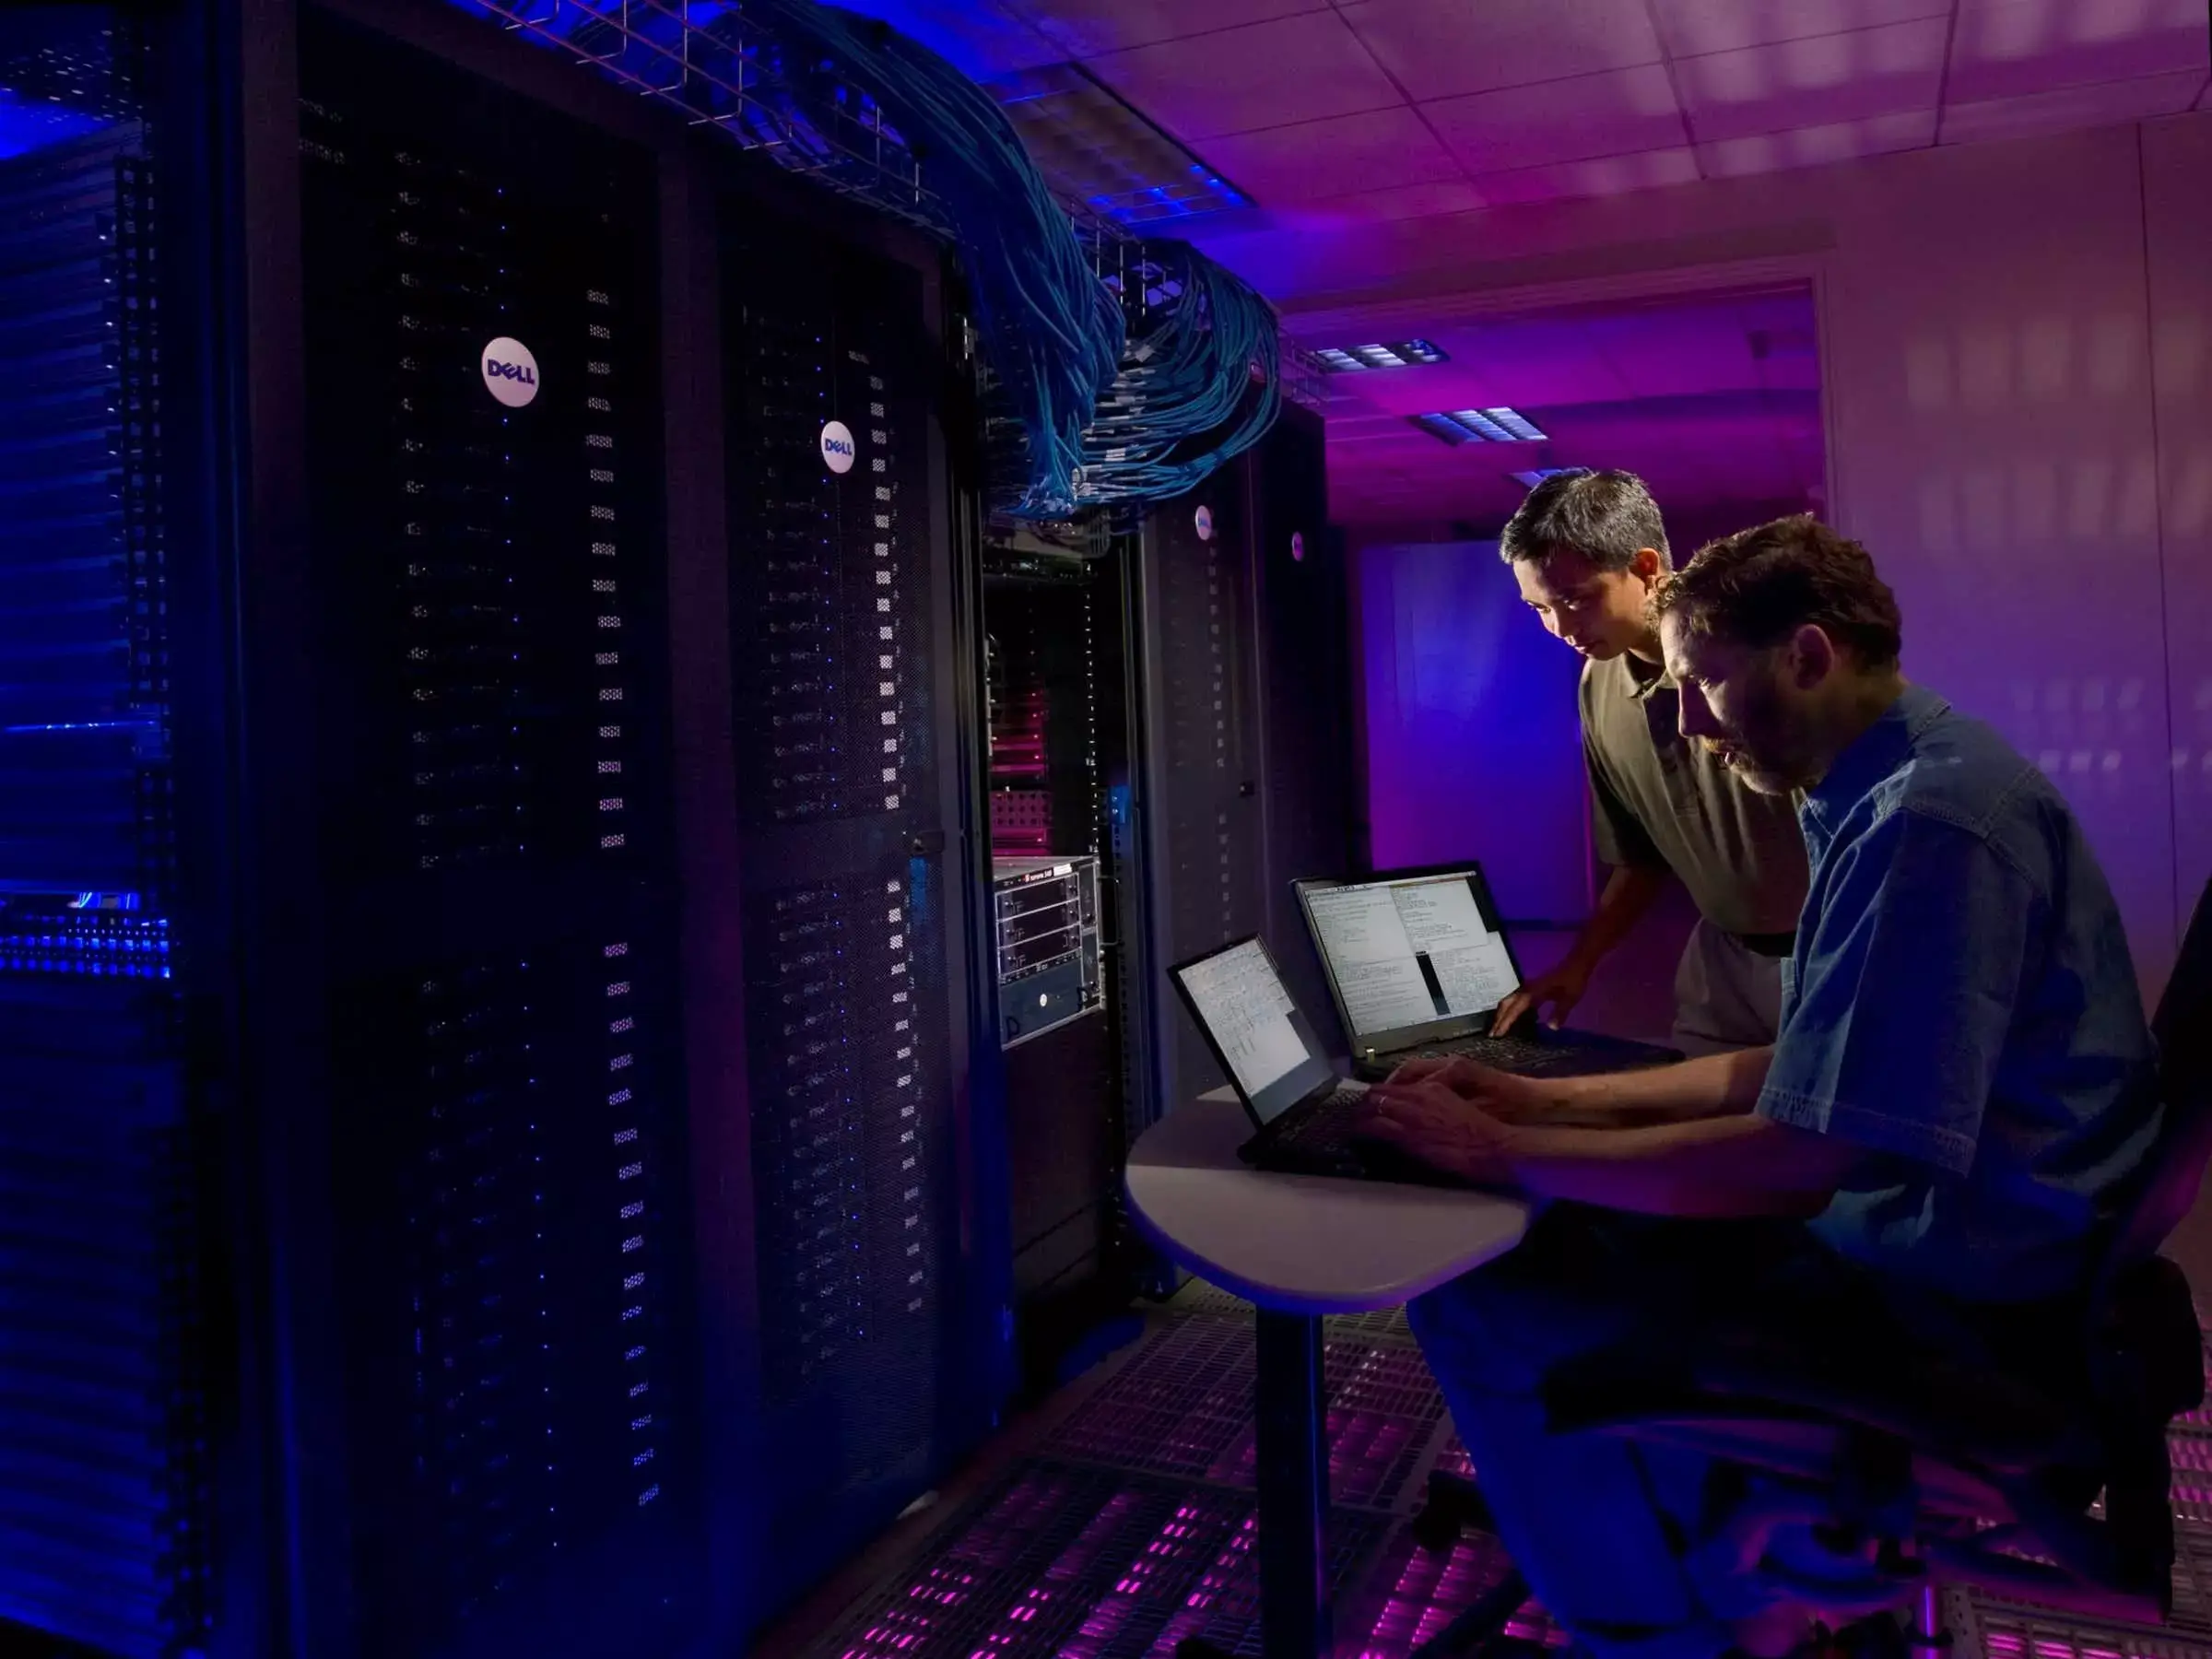
Managing a database
When managing a database on your own, you must also make sure that you have proper monitoring in place. Leveraging tools like Grafana and Prometheus can definitely help with this task and remember, you not only have to monitor the server and the database, but you must also monitor your backups and make sure that your backups are actually taking place. Making sure that your backups are actually taking place is extremely important. Testing out restores of your database Another challenge with managing a database on your own is that you must make sure that you have the proper updates in place, and not just updates for the database but also updates for the operating system where the database lives on because remember, you're also managing virtual machines. Last but not least, if you're managing a database on your own, and you're looking to scale, adding read-only nodes or even setting up a cluster can definitely add complexity into your environment. It is a complexity that you would need to manage, monitor, back up and in the event of a disaster restore. These are challenges that a service like DigitalOcean Managed Databases can help solve. In this example, I have a primary and read MySQL database. Each database lives in its own virtual server. As mentioned previously, I have to make sure that both of my servers are being monitored. I also have to make sure that the read database does not fall behind the primary. Backups are critical, so I must make sure that both of my servers and databases are being backed up. Replication between both of my database servers must also be configured and be secured, which means that we have to make sure that the replication is happening across the private network. Let's talk about what would happen if the read-only node falls behind the primary? To correct this, I must take a dump of the primary database and send it over to the read database. Then I must reconfigure replication on my read-only node.
During production hours, this process can be both nerve-racking and time-consuming. Leveraging a managed service like DigitalOcean Managed Databases will handle the replication on your behalf, letting you concentrate on your application and not the management overhead of the databases. Now that we have talked about the challenges of managing a database on your own, I think it's important for us to cover the architecture decisions on when you would switch to using a managed database offering. Switching from managing a database on your own to using a managed database offering really depends on your business requirements, there are use cases where having full control of the database makes sense. For example, let's say that a database engine that you're using is not supported with any of the other cloud providers, or in this case with DigitalOcean. Perhaps you have database engineers within your organization that have optimized your database clusters for your application and are comfortable managing the services in their own. All right. So, when is it time to switch? Well, perhaps you're just tired of managing a database on your own. Managing the database has slowed down the deployment of features of your application. You're spending more time configuring database clusters and improving on your application. You might also be looking to scale your application but do not want to manage the scale on your own. You do not want to spend time setting up read-only nodes, configuring them, monitoring them. Last, you might be looking for a high availability. You want to make sure that you minimize downtime on your database and on your application. In the event of a failure, you want your database to switch data processing to a standby node automatically, but you don't have the time or perhaps the experience to set this up on your own. These are all reasons why you might want to make the switch. So now talk about architecture decisions. Let's say you have all of your services running on a single voicemail. In this architecture, I'm using a LAMP stack as an example. All of my services, Apache, PHP and a database, MySQL in this example, live in the same virtual machine. A simple method of improving this architecture would be to separate out the database.

As discussed earlier, you can achieve this by either creating a new virtual machine, installing MySQL or just creating a managed database within DigitalOcean. On this slide, we have separated out the database and are now using DigitalOcean's managed database offering. Now that the database is isolated, we can independently scale the database as needed, whether that is adding more read-only nodes or perhaps scaling the primary vertically, you know, adding more CPU and memory. Since we are using DigitalOcean’s managed database, I now have the option of adding a failover node. In the event of a disaster, the failover node will take over data handling. This happens automatically. On this slide, I have taken things a step further. Now that my database is isolated, and state of my application is stored within the database, I can now start to introduce other services and start building high availability in my application. I have introduced a load balancer. I am now load balancing my web tier. As mentioned, my database is isolated, and I have also introduced spaces as my objects store. I can now start to store my static assets in spaces and no longer have to have them stored in my web tier server. This would not have been possible if my database lived in the same virtual server as my PHP and Apache application. Okay, so on this slide, we have a Kubernetes cluster where we are running a Node.js application as an example. We have a load balancer and an engine that's Ingress for 40 requests to the Node.js pods. The application is now ready to save state, but we need a database. On this slide, we decided to go with DigitalOcean's managed Postgres offering and Redis for cache. We now have four services that are managed by DigitalOcean in this slide. We have the Kubernetes cluster, the load balancer, the Postgres database and Redis all being managed by DigitalOcean. This architecture enables customers to concentrate on their application. It allows them to focus on building and improving their business. DigitalOcean at the time of this recording supports three database engines: MySQL, Postgres and Redis. These are popular database engines and allows businesses and developers to leave the complexity of database administration to DigitalOcean
Database administration is complex
Expect new database engines to be added soon. DigitalOcean specializes in developing simple-to-use solutions to complex problems. Database administration is complex, and we have successfully made it simple, simple not just to manage but also to deploy. You can deploy a DigitalOcean managed database from the UI as well as through the API. Simple, predictable pricing is also something that we are very proud of. You will always know what you will pay with monthly caps, and the price is flat across all data centers. DigitalOcean Managed Databases enable you to focus on what's important, and that is building your dream, building your application and focusing on perhaps that new future that you wanted to use. DigitalOcean Managed Databases allow you to scale fast. You can scale vertically by adding more resources to your database or just create read-only nodes, and DigitalOcean Managed Databases check a lot of boxes when it comes to managed databases. Never worry about maintenance operations or updates. We handle it for you. Free database backups up to 7 days automatically enabled and allows you to restore to any point within the past 7 days.
As mentioned, DigitalOcean Managed Databases are highly scalable to support you and your business growth. Let's now look at how simple it is to deploy a managed database on DigitalOcean. Let's get started by creating our first MySQL fully managed and production-ready database. I will click on create then databases. As mentioned, DigitalOcean supports the following database engines: Postgres, MySQL and Redis. We look forward to adding more database engines in the future. For this demo, I will stick with MySQL. Let's now pick a node plan. I will choose a 2 gig of RAM, one vCPU, 25-gig disk. This configuration allows me to add a standby node. Note that smaller plans do not present this option. I will stick with NYC because it's closest to me. I will leave the VPC network as-is. I have the option of entering a unique name for my cluster, but I will stick with a default. I will also place my database in my default project, Alexis Reyes. Note that by default, all databases automatically create a default database and default admin user, the default database being default dB, and the default admin user being do admin. Let's move on and create a database. I will click create a database cluster. While the database is creating, I also wanted to take the opportunity to create a database via doctl. doctl is a command line interface that interacts with the DigitalOcean API. I have already authenticated doctl with my API credentials. Let's first list the databases that we currently have and are running doctl databases list, and I want to format the output to only show the ID name, engine and status. I will remove this extra space and press enter. As you can see, we have a database that is currently in status of creating.
Let's now proceed with creating the MySQL databases, doctl, databases, create. This time I will name the database deploy MySQL. I will specify the engine to be MySQL and the size to be VPS 1 vCPU, 2 gigs of RAM and the number of nodes. I will select two. Note that by me selecting the number of nodes to two, it automatically adds a standby node, and I will select enter, if we clear our screen, and we list the databases again, we should now see two databases that have been created with the status of creating. Okay. So here we have created two databases, one through the UI and one through doctl, which is the command line interface for our API. Let's go back to the UI and click get started. Database clusters allow you to configure and limit inbound sources. This is important to secure your database. You can set the inbound source to be a public or private IP. The configuration setting also allows you to add your computer's IP address. I will proceed by adding my computer's IP address. I will select allow these inbound sources only. All others will be denied. I am now presented with the connection parameters. Here I can see the username, password, host port database and the setting that ssl mode is required. If I click on private network, I get presented the same information, this time with a different host. This host specifies the connections to the database via the private network. If I select a drop-down for connection parameter, I also get the option for a connection string as well as flags for the CLI. I select continue. I am presented with more information on how I can connect on my database as well as a document on how I can migrate my database to DigitalOcean Managed Databases. I can also select the time for the automatic updates, and it's informing me that my backup, my first initial backup, is already on its way. As mentioned, backups are kept for 7 days, and you can restore your cluster to a specific transaction from any point within that time. Going to proceed with great, I'm done. Now the database has successfully created.

In the overview tab, we can see the total cost of my cluster, the trusted sources, VPC networks, available upgrade times, any read-only nodes that are active and my connection details. This is a new database, so no data has been imported yet, but here I will be able to see my insights, logs and queries, the users and databases as well as settings. You'll be able to create read-only nodes once this cluster has at least one backup, so let's wait for the backups to complete, and we'll proceed with creating a read-only node. The first automatic initial backup has already taken place. We can now proceed with adding a read-only node. I will selection actions, add read-only node. Selection a region. This time I'll select NYC three. I will leave the default unique name and select create a read-only node. As you can see, you are also presented with a very similar screen to the create database. This time, it's just creating the read-only node. If you go back to the databases, you'll notice that the read-only node is associated with the primary database.
Once the read-only node completes, you'll have access to view the connection settings to connect your application to the read-only node. The read-only database has now completed. To summarize, we have created two databases, one through the UI and another using doctl, our command line interface. We have also created a read-only node. Now that we have everything we need created, let's connect to the databases. Let's start with the primary database. Then we can proceed with the read-only database. To connect to the databases, I will be using TablePlus. TablePlus is a modern tool for database management. Let's select create a new connection. In TablePlus, I have the option of entering the connection details manually by selecting MySQL, but I prefer to use the connection string, which auto-populates the information for me. Let's go back to the dashboard, selection connection string. Let's copy the connection string. Let's go back to TablePlus, select create a new connection. This time I will select import from URL, and I will paste in the URL. Once I select import, you'll notice that everything gets populated for me. I will name this connection primary since it's the primary database we’re connecting to. I will first test the connection then select connect. Okay Now that we're connected to the database, let's run a couple of queries. First, I will show databases. As you can see, we have our default database. For this test, we'll create a new database. Select create database, and we want to name it deploy. Let's run.
Now we can go back and run shell databases, and as you can see, the deploy database has now been created. Perfect, let's now connect to our read-only database. Let's go back to the overview tab. If you scroll down to the bottom, you'll find the read-only database. Let's select connection string, and let's copy the information. Let's go back to TablePlus, and let's create a new connection. Again, we're going to import from URL. We're going to paste in the information, import. This time I'm going to name it read-only. We're going to test the connection, and now I'm going to connect. Let's run a query to see if the deploy database has already been replicated. Okay. Here we can see that a deploy database has been replicated over into the read-only node. During this presentation, we have covered the benefits of DigitalOcean Managed Databases. We talked about the challenges of managing a database on your own. We covered architecture decisions on when to switch to a managed database. We created databases using the UI and API using doctl. We have connected to databases using the provided connection strings. I hope you have found this presentation informative. Thank you for joining us today on Deploy.


Topics
AI and Automation
Cybersecurity and risk
Digital Transformation
IT Management
Cloud Management
Digisquares Platform
Database Management
Governance